

 Need a quick pick-me-up before taking a walk? How about during your walk or afterwards? Walk with Do-It-Yourself Healthy Cookie Snacks! They’re easy to make, delicious, healthy and they travel well too! Win-win-win-win!!
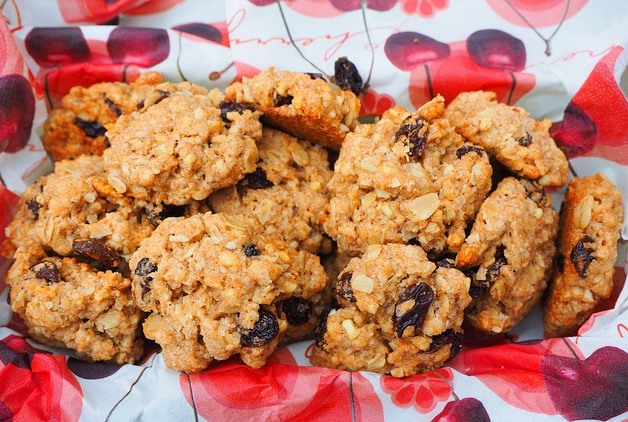
Lately I’ve been discovering the beauty of making up a batch of Oatmeal-based healthy snacks and experimented with them to test it out. It was definitely a fun experiment that reaped a few dozen delicious nutritious, yet light snacks that can be eaten almost any time of the day—how about that? Pretty cool, eh?
These snacks can be tweaked to make them sweeter, saltier, crunchier, chocolatey, even chocolatier, or perfectly bland, if that’s what you prefer. I’ll give you the scoop on the basic recipe, first and then some much more mouth-watering variations I discovered (which I thoroughly tested myself and even included my husband in this experiment)! He wholeheartedly joined in!
Basic Oatmeal Banana Peanut Butter Healthy Cookie Snacks
Ingredients:
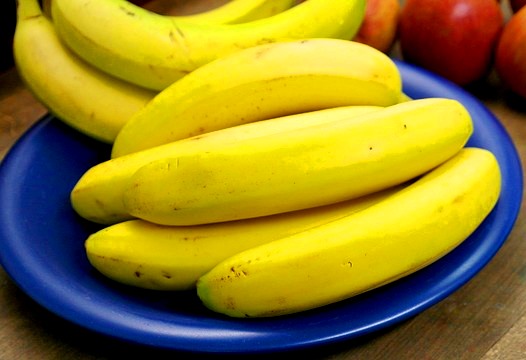
- 2 ripe bananas
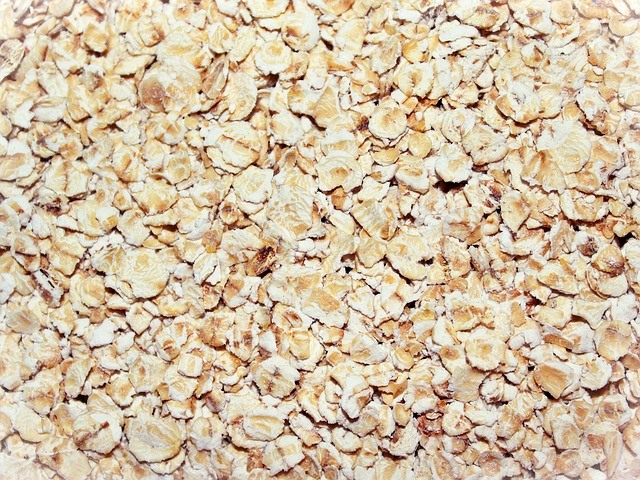
- 1 cup dry Oatmeal (Regular or Quick-cooking)
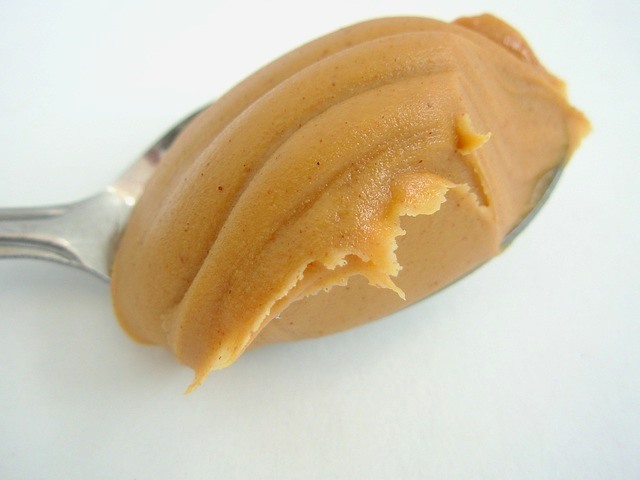
- 2 Tablespoons Peanut Butter (Regular or Natural)
- (optional) 1-2 packets stevia &/or Cinnamon if more sweetness is desired
Instructions:
- Mash ripe bananas (a potato masher does the trick)
- Mix in peanut butter until well blended
- Add dry oatmeal and mix well. Since banana sizes vary, if the mix seems too wet add a little more oatmeal, or add some oat bran, or ground flax seed until the mix pulls away from the sides of the bowl—I’ve added up to ¼ cup more dry ingredients for the best results. It depends on how dry or chewy you want them. I prefer them less chewy, as they sometimes can end up with a gummy texture after baking, if the dough is too wet. My favorite dry ingredient combo is 3/4 cup oatmeal, 1/4 cup oat bran, 1/4 cup ground flax seed.
- Place spoonfuls onto a greased cookie sheet. (I use coconut oil to grease the cookie sheet and a sorbet scoop to spoon out the dough).
- Bake in a 350 degree oven for 10-14 minutes depending on the size of the cookies.
- Transfer cookies from pan to parchment paper and allow to cool a few minutes before eating!
- Cooled cookies should be stored in parchment lined tins; refrigerate if they aren’t completely devoured within a few hours to a day. Yields 12-14 cookies.
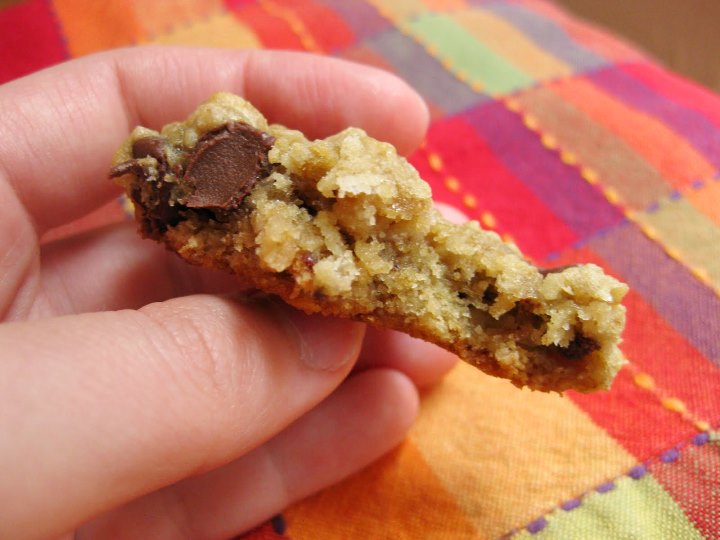
The basic recipe is plenty good, but a bit bland for both me and my husband, soooo…I went crazy making several variations—now this was fun!
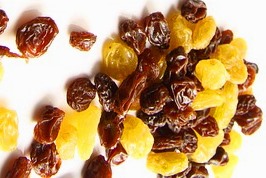
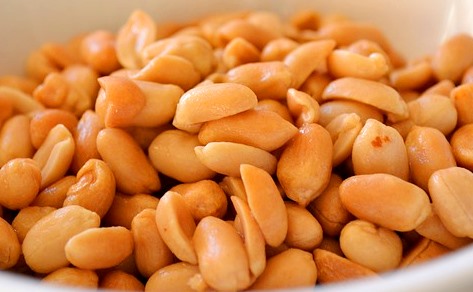
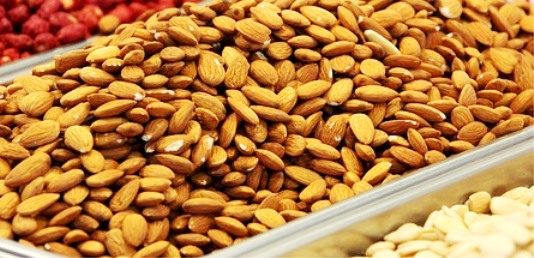
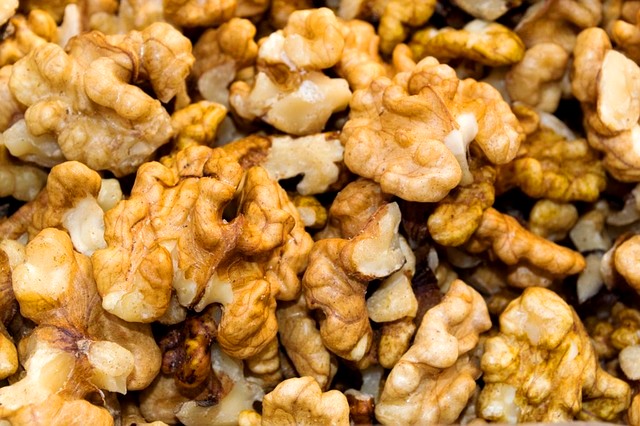
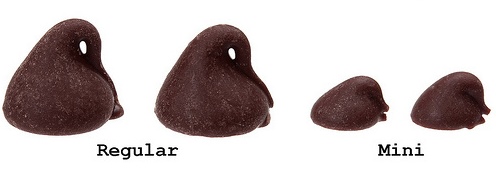
Additions I experimented with were: coconut flakes, raisins, lightly salted sunflower seeds, dry roasted whole peanuts, whole raw almonds, walnut halves and mini dark chocolate chips.
Best Two Winning Cookie Combinations
The two best winning combinations that hubby and I both agree on are:
- For a great Nuttier slightly Salty blend add: Sunflower seeds, peanuts, walnuts, almonds (with or without raisins & coconut)! This satisfies my craving for something nutty, chewy & little salty bigtime! Yum!
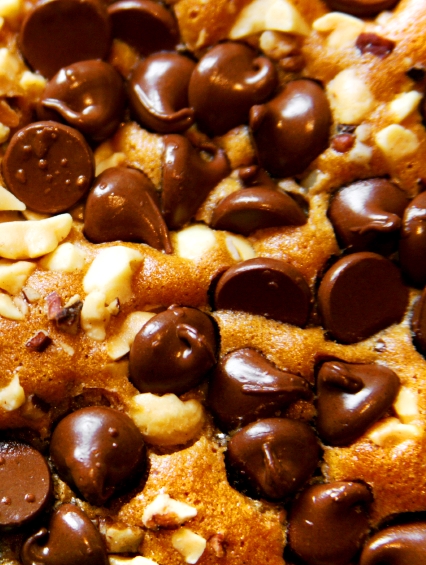
- For something Sweet: Sunflower seeds, walnuts, raisins, mini dark chocolate chips—oh yeah—these are the bomb! They taste so much like a traditional chocolate chip cookie that I almost can’t believe it!! And they’re actually good for you—wow!
Tips for Success
A few tips for adding the most “goodies” to your cookies:
- Add the smaller ones first: Sunflower seeds, coconut flakes, small raisins, chopped nuts, then mix it all up to distribute evenly. Then add the larger ones, such as: whole or unchopped nuts (aka whole peanuts, whole almonds, walnut halves) and chocolate chips. You’ll have to press some of the larger additives back into the cookies after your spoon them onto the cookie sheet.
- If you’d like to make the batch of 12-14 cookies a variety batch with several different combos on the same cookie sheet, then add all of the common ingredients, scoop the dough onto the greased cookie sheet, then just press the larger nuts or chocolate chips into individual cookies, as desired and flatten each cookie a bit with a fork, before placing them in the oven.
Walk with do-it-yourself healthy cookie snacks next time you venture outdoors for an invigorating walk! They’re easy to make, good for you, truly delicious and travel very well in a baggie thrown into your back pack or pocket! If you’re out & about for longer periods, freeze some of them, take them with you straight from the freezer and allow them to thaw while you’re on-the-go!
Enjoy!
Happy Walking, my friends…
P.S. To tell us what you think, please enter your first name and e-mail address in the form below along with your comment! I look forward to hearing from you all! (Only your first name will be displayed with your comments. Your e-mail address will remain private).


Leave a Reply